
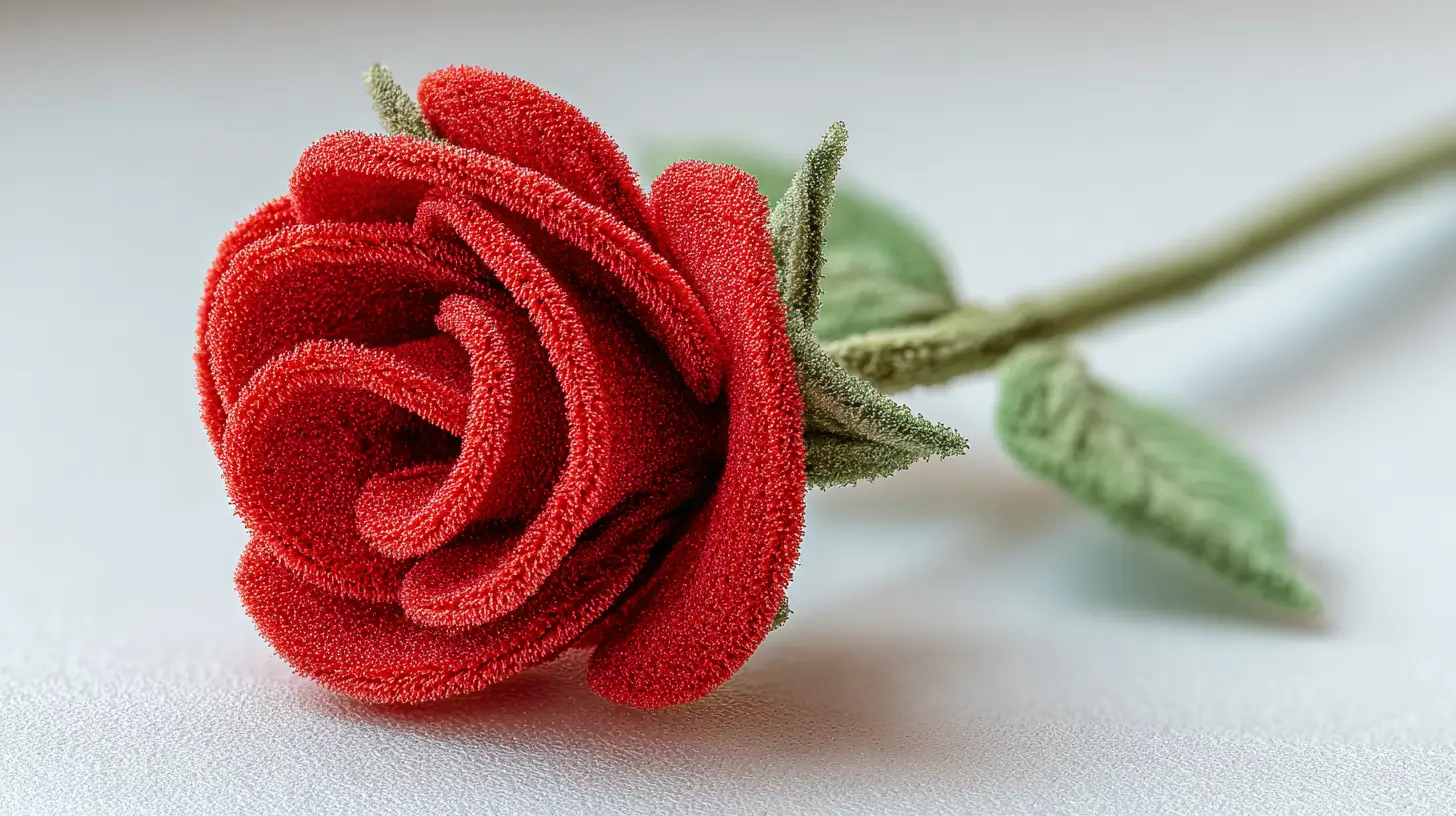
To make a pipe cleaner rose, coil a colored chenille stem tightly for the center bud, wrap a second stem in progressively looser coils for the outer petals, secure the tails underneath, then twist the bloom onto a green stem. The method below uses no glue and shows each stage step by step.
Pipe Cleaner Rose Step-by-Step: Quick Instructions
- Coil the first colored pipe cleaner into a tight spiral for the rosebud.
- Wrap a second colored stem around the bud in wider coils.
- Lift and curve the outer coils to resemble overlapping rose petals.
- Wrap the loose tails beneath the bloom to lock the rose head together.
- Twist a green pipe cleaner firmly around the base to form the stem.
- Add a folded green leaf, then tuck exposed wire tips inward.
Want these steps in a printable format? The rose is included in our pipe cleaner flowers instructions PDF, together with other flower projects.
This step-by-step tutorial covers the center bud, layered petals, flower base, stem, troubleshooting, and three easy variations. If you prefer to work from a printable reference, our pipe cleaner flowers printable instructions also collect flower-making steps in an easy-to-reference format.
If you’re new to pipe cleaner flower crafts, explore our flower pipe cleaner guide for the basics. For arrangement inspiration, see our pipe cleaner flower bouquet ideas.
Why make a rose with pipe cleaners?
Pipe cleaner roses are versatile handmade flowers that can be used in bouquets, gifts, table decorations, wreaths, and other craft projects. The petals can be reshaped easily, allowing you to create tighter rosebuds or fuller open roses using the same basic technique.
Materials for a Pipe Cleaner Rose
Basic supplies for a pipe cleaner rose
To make a pipe cleaner rose, you only need a few simple and affordable materials. This is one of the reasons why this handmade rose craft is so popular with beginners and DIY lovers.
Here is what you need:
- 2 red or pink pipe cleaners, each about 30 cm long, for a small coiled rose
- 1 green pipe cleaner for the stem
- A ruler; an adult-operated craft cutting tool only if an end needs trimming
These basic supplies are enough to create a complete DIY pipe cleaner rose with a clean and recognizable shape.
Optional materials for a better finish
Although not required, a few optional items can improve the final look of your pipe cleaner flower rose:
- floral tape to cover the base of the rose
- beads or small decorations for creative designs
You don’t need glue or a hot glue gun for this basic pipe cleaner rose. The petals, flower base, and stem can be secured by twisting the pipe cleaners together.
Choosing the right pipe cleaners
For best results when learning how to make a rose with pipe cleaners, choose standard or fluffy pipe cleaners rather than very thin ones. Thicker pipe cleaners hold their shape better and make the petals look fuller and more realistic.
How to Make a Pipe Cleaner Rose Without Glue – Step by Step
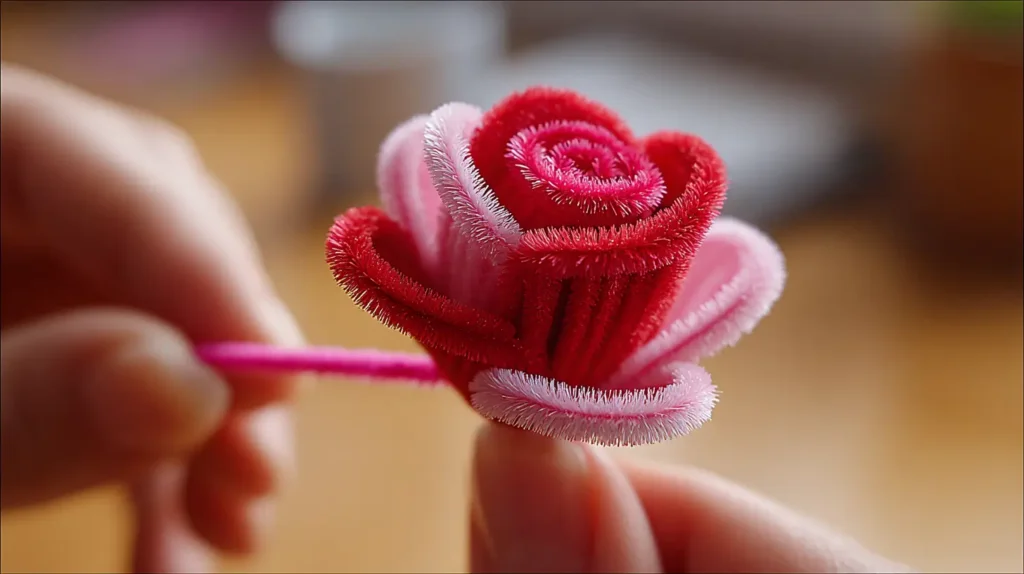
Follow these steps carefully to learn how to make a rose with pipe cleaners. Take your time on the first attempt. After a little practice, each pipe cleaner rose will become faster and easier to make.
Step 1: Create the center bud
Use a colored chenille stem about 30 cm long. Start a small flat spiral at one end, then coil inward-facing turns around it to form the bud. Reserve about 3 cm at the other end as an attachment tail. Hold the bud between your thumb and forefinger so it does not open while you shape the outer turns.
Step 2: Shape the first petals
Slowly wrap the remaining length of the same pipe cleaner around the spiral. As you wrap, gently bend the pipe cleaner outward to create soft curves. These curves represent the first petals of the pipe cleaner flower rose.
Step 3: Add the second pipe cleaner
Wrap the first few centimeters of the second colored stem around the reserved tail beneath the bud. Coil the remaining length around the outside, making these turns looser than the center. Keep the turns close enough to touch and reserve a short finishing tail to wrap under the flower. This step gives your DIY pipe cleaner rose more volume and a natural layered look.
Step 4: Secure the base
Bring the two colored attachment tails together beneath the flower. Twist them together, then bend them flat against the underside. Hold the outer coil while you secure the tails so the bloom does not unwind. Fold any exposed wire tip inward.
Step 5: Create the stem
Wrap the top 3–4 cm of a green pipe cleaner around the joined colored tails beneath the bloom. Leave the rest pointing downward as the stem. Gently rotate the head to check that it stays attached. Use a separate green stem for an optional leaf; a heavy bloom may need a second stem twisted alongside the first.
How to Make Pipe Cleaner Roses Without Glue
Pipe cleaner roses can be made without glue because the chenille stems hold together when they are twisted securely. Keep the center coil tight, twist each new pipe cleaner firmly around the flower base, and secure the green stem with several twists.
If the center opens, reshape it while holding the underside. If an outer turn slips, rewrap its finishing tail beneath the bloom. If the head tilts, shorten the display stem or reinforce it with a second green stem. Dust finished roses with a dry soft brush and store them without heavy objects on top.
Pipe Cleaner Rose Step-by-Step Printable Instructions
For a quick printable-style reference, use this sequence: 1) coil the center bud, 2) form looser outer petals, 3) secure the colored tails beneath the bloom, 4) wrap on the green stem, and 5) gently shape the outer coils. Keep this page open while crafting, or visit our printable pipe cleaner flower instructions for the site’s dedicated printable resource.
For another glue-free flower construction method, compare this coil technique with our pipe cleaner flowers without glue guide, which also explains loop-and-twist flower designs.
3 Easy Pipe Cleaner Rose Variations
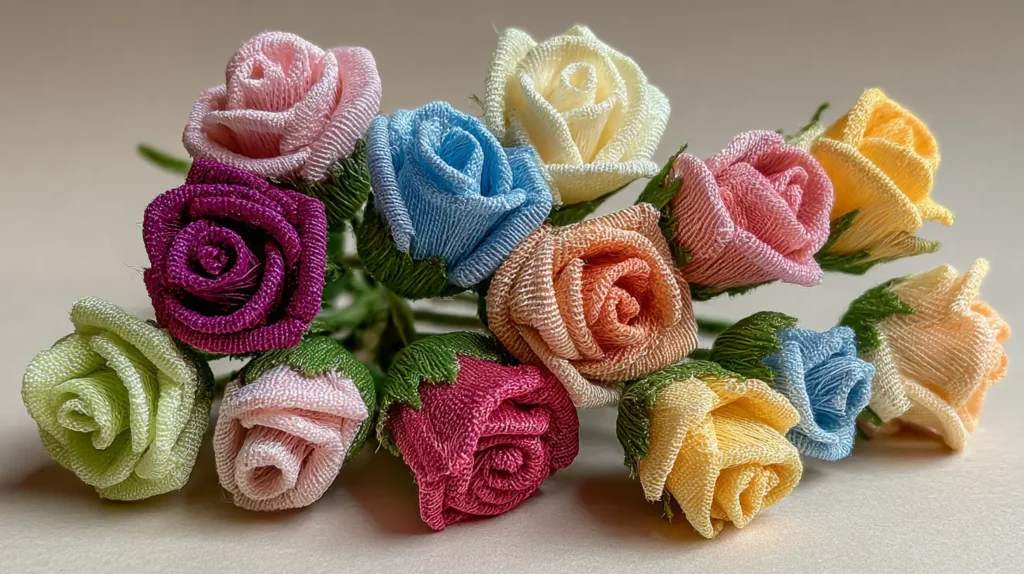
Once you understand how to make a rose with pipe cleaners, you can easily change the size, color, and style. These simple variations help you create unique flowers for different projects.
Small rose bud
To make a small rose bud, use only one pipe cleaner and wrap it tightly from start to finish. This creates a compact pipe cleaner rose that works well for gift tags, cards, or small decorative accents.
Two-color rose
For a more decorative look, combine two different colors of pipe cleaners. Start the center with one color and add the second color for the outer petals. This layered effect makes the DIY pipe cleaner rose look soft and visually interesting.
Mini rose set
Instead of one large flower, create several mini roses using shorter pipe cleaners. A group of mini pipe cleaner flower roses looks great in table decorations, wreaths, or small craft displays.
Pipe Cleaner Rose Decoration Ideas
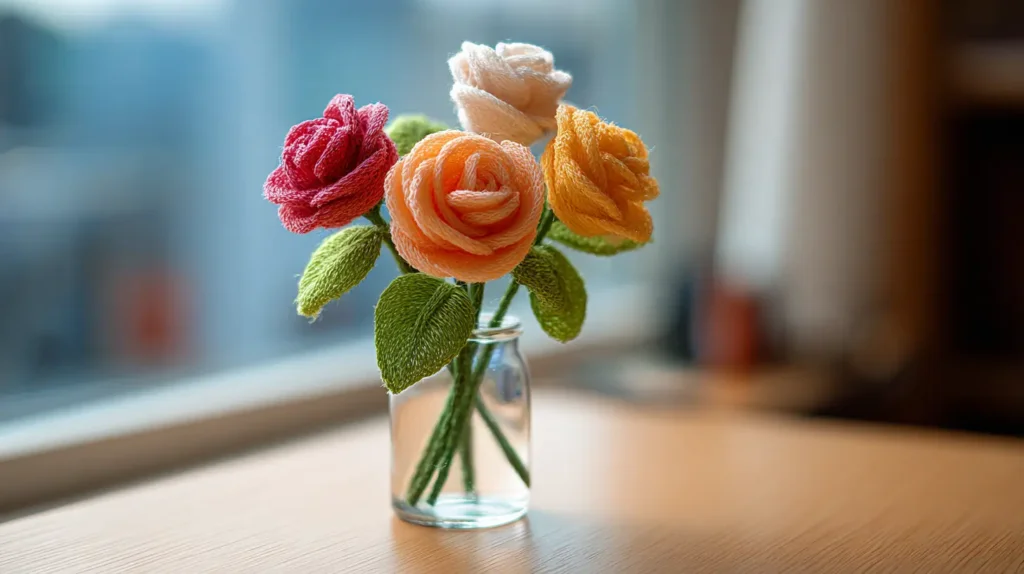
After learning how to make a rose with pipe cleaners, you’ll find many creative ways to use them in everyday decoration. A pipe cleaner rose is lightweight, flexible, and easy to display in different settings.
Pipe cleaner roses are perfect for:
- small bouquets placed in jars or vases
- desk or shelf decoration at home or school
- handmade gift toppers for birthdays or holidays
- party table decor and themed events
- classroom flower projects and seasonal crafts
They also look beautiful when combined with other pipe cleaner flowers. Mixing different shapes and colors creates playful arrangements and adds variety to your displays.
Tips for Making a Better Pipe Cleaner Rose
Small details make a big difference when creating a pipe cleaner rose. These tips will help your DIY pipe cleaner rose look more natural and polished.
Keep the center tight
The center of the rose should be firmly twisted. A tight center helps the flower hold its shape and makes the outer petals stand out more clearly.
Loosen the outer petals
As you build the rose, keep the inner layers tighter and the outer layers looser. This contrast gives the pipe cleaner flower rose a realistic, blooming appearance.
Shape the petal edges gently
Use your fingers to bend the edges of the pipe cleaners slightly outward. This simple movement mimics the soft curl of real rose petals.
Adjust for balanced arrangements
If you are making several roses, vary their heights slightly. Adjusting the stem length creates a more natural and visually balanced arrangement.
Combine Roses With Other Pipe Cleaner Flowers
Pipe cleaner roses work well as focal flowers in mixed arrangements. Pair them with smaller daisies, lavender, tulips, or simple loop flowers to add different shapes and heights to your bouquet.
For more combinations, explore our types of pipe cleaner flowers guide or our pipe cleaner flower bouquet ideas.
FAQ – how to make a rose with pipe cleaners
How long does it take to make one pipe cleaner rose?
Completion time varies with the rose size and your experience. A small coiled rose is usually quicker than a large layered version, so focus on keeping the center secure rather than rushing the first attempt.
Can children make pipe cleaner roses?
Children can make simple pipe cleaner roses with guidance. Adult supervision is recommended when using scissors and when handling exposed wire ends.
Can I mix roses with other pipe cleaner flowers?
Absolutely. A pipe cleaner flower rose looks great when mixed with simple loop flowers or other pipe cleaner designs. Combining different flower styles adds texture and makes bouquets more interesting.
Can you make a pipe cleaner rose without glue?
Yes. You can make a pipe cleaner rose without glue by securing the petals and stem with tight twists. The flexible wire inside the pipe cleaner helps the flower hold its shape without a hot glue gun.
How many pipe cleaners do you need to make a rose?
A simple rose can be made with two colored pipe cleaners for the flower and one green pipe cleaner for the stem. Smaller rosebuds may require less material, while larger layered roses may use additional pipe cleaners.
How do you keep a pipe cleaner rose from unraveling?
Keep the center coil tight and twist the ends firmly together at the base of the flower. When adding the green stem, wrap it securely around the same base to reinforce the rose.
Conclusion
Making a pipe cleaner rose requires only a few materials and a simple combination of coiling, shaping, and twisting. Start with a tight center, gradually loosen the outer petals, and secure the flower to a green stem with firm twists.
Once you’ve mastered the basic no-glue rose, experiment with different colors, smaller rosebuds, two-color petals, or several roses arranged together in a handmade bouquet.
Happy crafting — from My Flower Decor! 🌹
More guides you’ll love
Free pipe cleaner flowers printable instructions PDF — download and print all 10 flower tutorials for free