
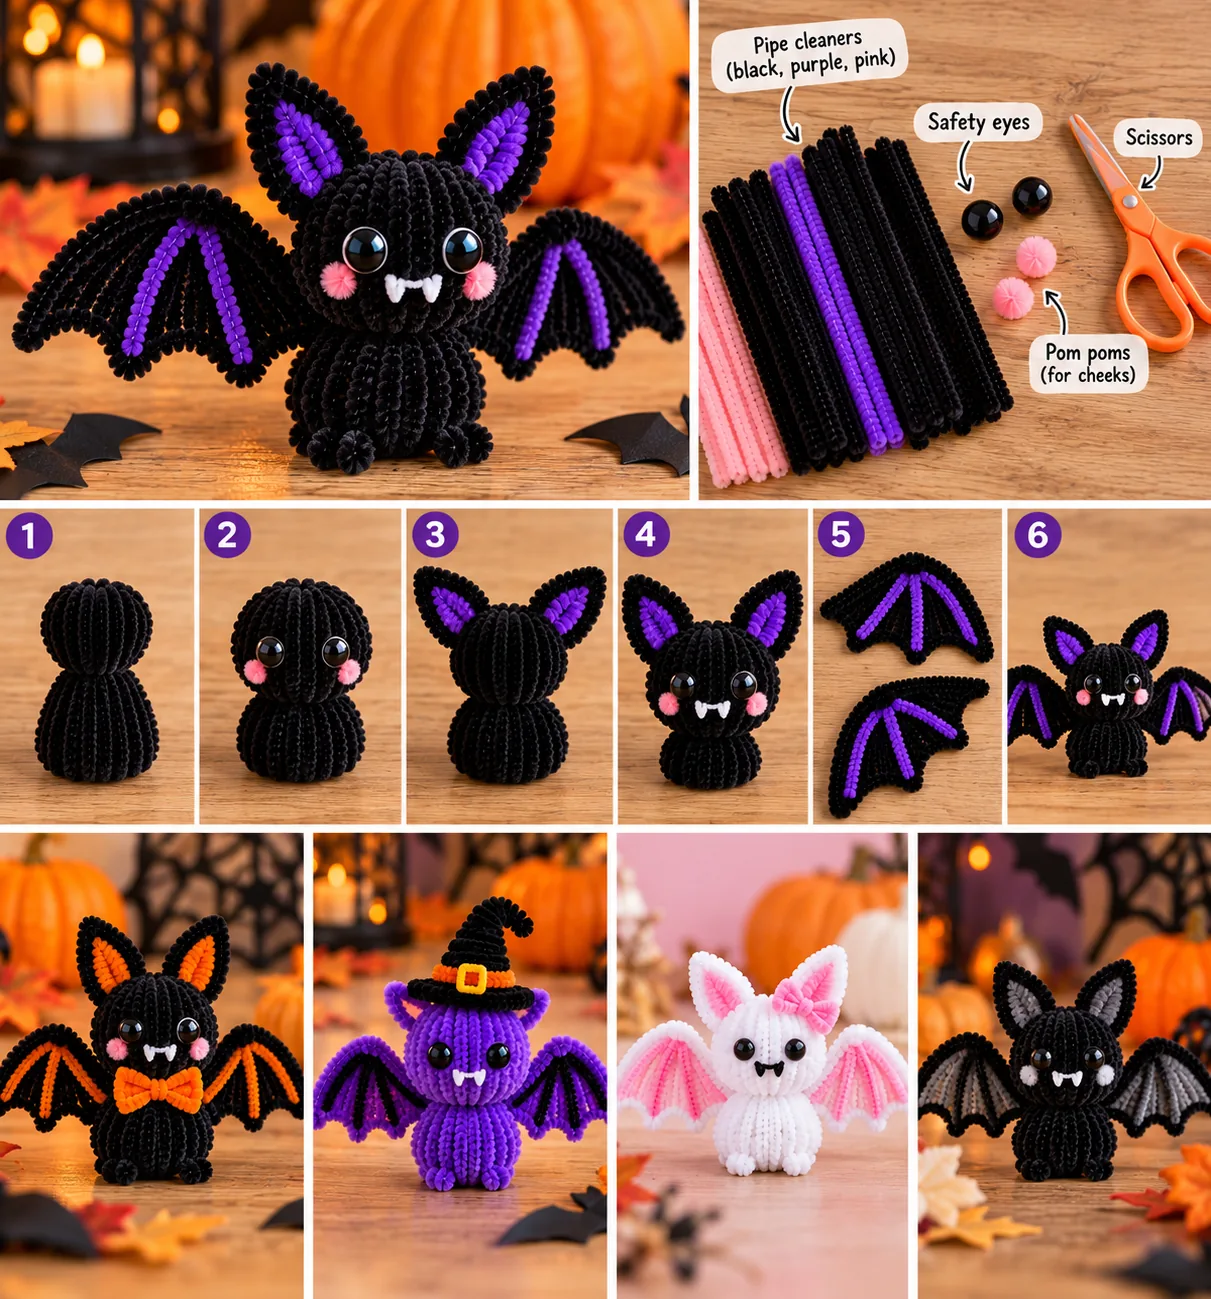
A pipe cleaner bat is an easy Halloween craft made by twisting black chenille stems into a small body, two pointed wings, ears, and optional feet. The basic version can be made without glue and works well as a hanging ornament, garland decoration, classroom craft, or spooky accent for a Halloween display.
This tutorial shows you exactly how to make a pipe cleaner bat step by step, including a simple no-glue construction, wing-shaping tips, hanging ideas, kid-friendly options, and several variations. If you are building a full Halloween collection, pair your bat with our pipe cleaner spider and pipe cleaner ghost.
What Is a Pipe Cleaner Bat?
A pipe cleaner bat is a small craft in which chenille stems form the body and recognizable pointed wings of a bat. Because pipe cleaners contain flexible wire, you can create the entire structure with bends and twists instead of relying on hot glue.
The easiest design uses a compact central body with one wing on each side. Each wing has an upper edge, pointed tip, and scalloped lower edge. Those three features make the silhouette read clearly as a bat even when the craft is very small.
Quick Project Overview
- Skill level: beginner
- Approximate time: 10–20 minutes
- Main material: black pipe cleaners
- Glue: not required for the basic construction
- Best for: Halloween decorations, garlands, classroom displays, wreath accents, and hanging ornaments
The time is only a planning estimate. Your first bat may take longer while you learn how to make both wings similar in size.
Materials You Need
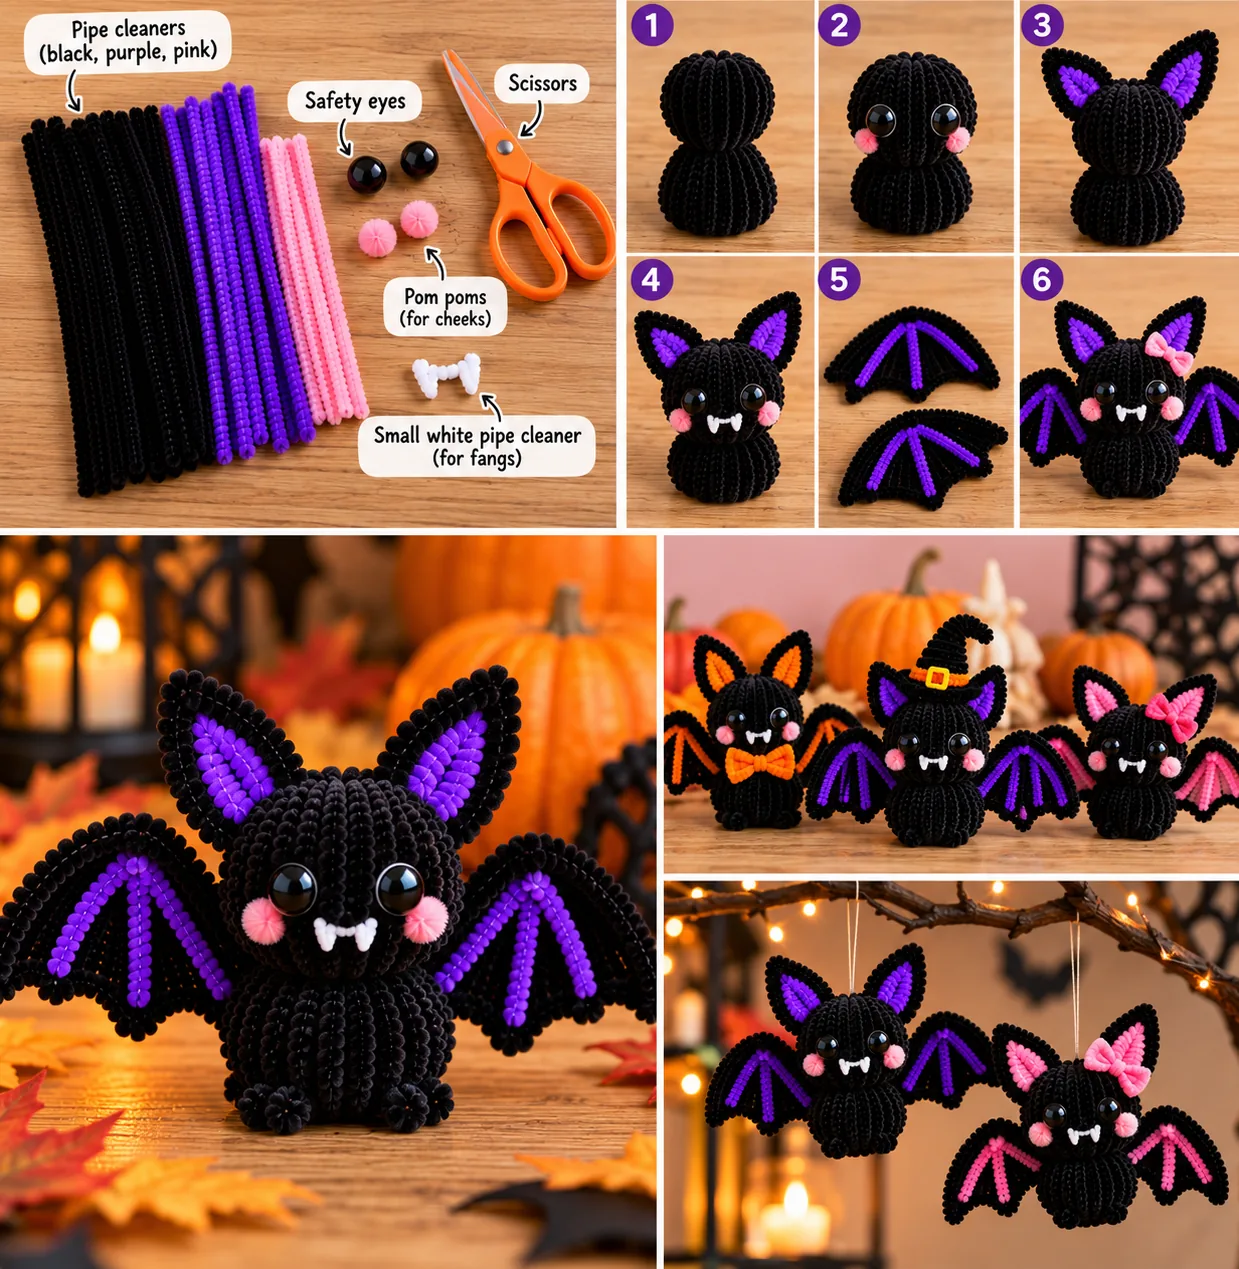
- 3 black pipe cleaners for the basic bat
- 1 extra black pipe cleaner if you want a thicker body or larger wings
- A short piece of purple, orange, or white pipe cleaner for optional details
- Blunt-tip scissors or wire cutters if trimming is necessary
- String or ribbon for hanging
- A ruler, optional, for matching wing size
You do not need googly eyes to make the bat recognizable. For a completely twist-only project, form tiny eyes from short contrasting chenille-stem curls or leave the face simple. Small loose decorations can be a choking hazard, so choose age-appropriate materials and supervise children.
How to Make a Pipe Cleaner Bat Step by Step
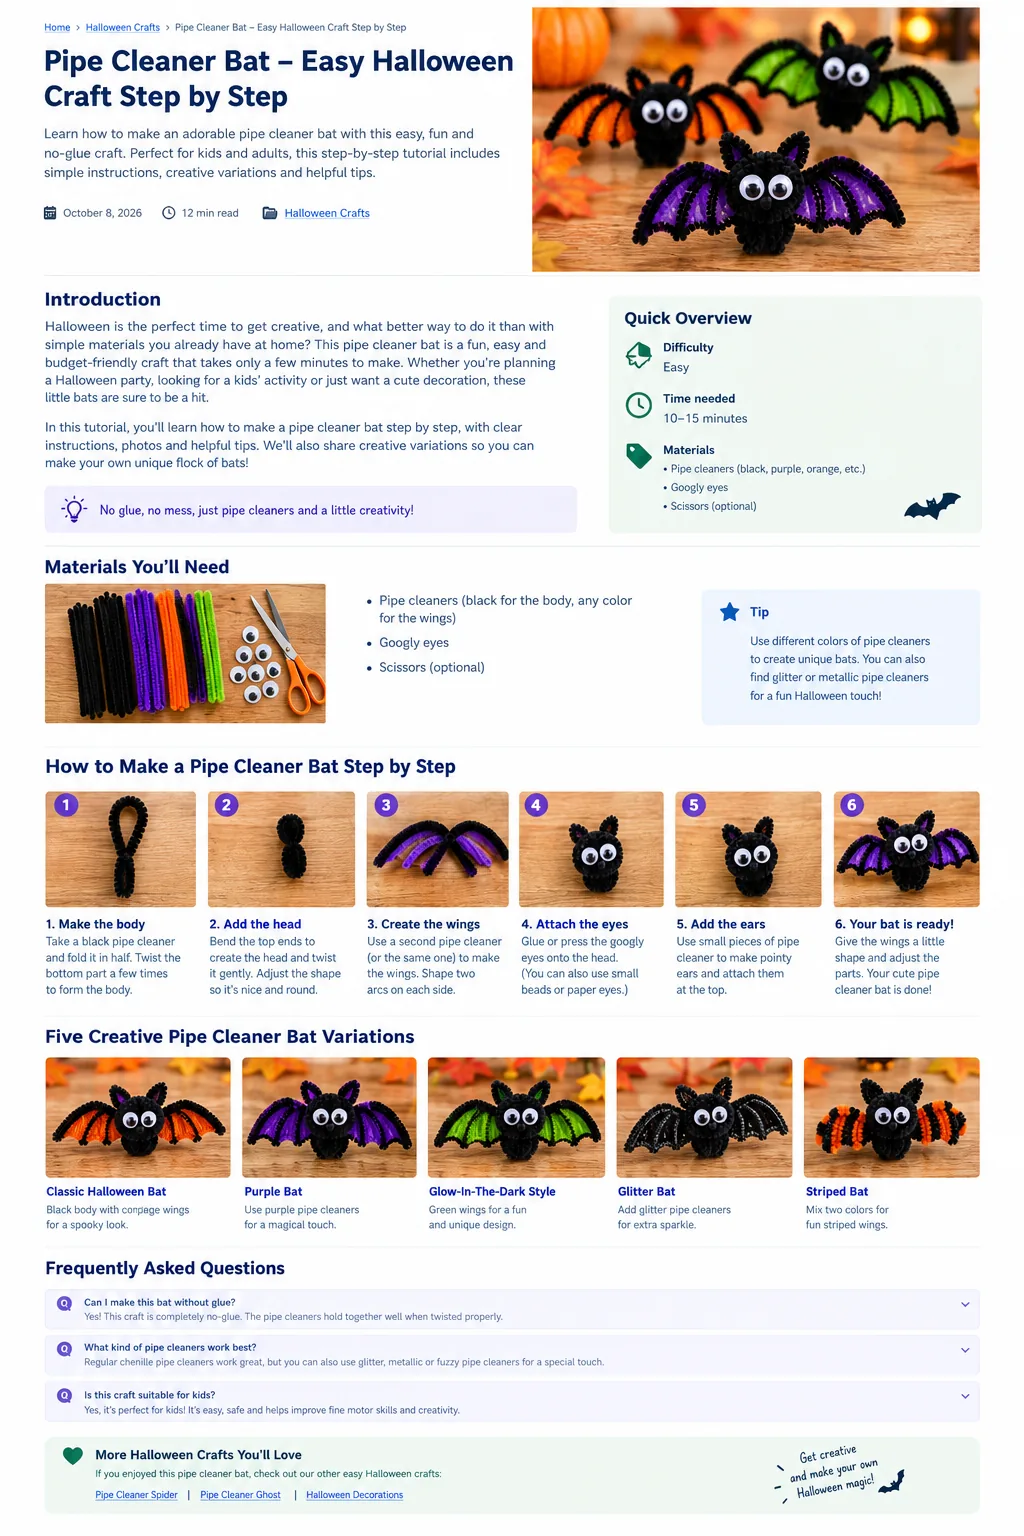
Step 1: Make the bat body
Fold one black pipe cleaner in half. Starting at the folded end, twist the two sides around each other several times to create a compact body about 1½ to 2 inches long. Leave the lower ends free for now. The folded top will become the head area.
Step 2: Shape two small ears
Near the folded top, pinch two tiny points upward to suggest bat ears. Keep them short so they do not look like long antennae. If the head becomes too narrow, gently round the center between the ears with your fingertip.
Step 3: Prepare the first wing
Take a second black pipe cleaner and bend it in half loosely to locate the center. Do not make a permanent crease. Starting near one end, create a long upper wing edge that angles outward from the body. Bend the outer end into a pointed wing tip.
Step 4: Create the scalloped lower wing
Bring the pipe cleaner back toward the body while making two or three shallow V-shaped or curved dips along the lower edge. These dips imitate the finger-like sections of a bat wing. Keep them broad enough that the fuzzy stem does not bunch into a knot.
Step 5: Attach the first wing
Wrap the inner end of the wing around the upper half of the body twice. Press the twist close to the body so the wing does not rotate. Angle the wing slightly upward for a flying pose or outward for a wide silhouette.
Step 6: Make the second wing
Use the third black pipe cleaner to repeat the same shape on the opposite side. Before fastening it, place both wings side by side and compare their width. Exact symmetry is unnecessary, but similar proportions make the finished bat look more balanced.
Step 7: Shape the feet
Separate the two short ends left at the bottom of the body. Bend each one into a tiny hook. The hooks can act as feet when the bat hangs upside down. If the ends are too long, wrap them once around the lower body rather than cutting them immediately.
Step 8: Add optional facial details
Use two very short pieces of a contrasting pipe cleaner and curl them into tiny circles. Twist their tails securely around the head structure. Another small curved piece can form a smile. Keep the face minimal so the wing silhouette remains the main feature.
Step 9: Adjust the final silhouette
Lay the bat flat and compare the wings. Open any lower scallop that has collapsed, sharpen the outer tips gently, and angle the ears upward. Fold all exposed wire ends into the fuzzy material. Your basic no-glue pipe cleaner bat is now complete.
Why the No-Glue Method Works
Chenille stems hold their shape because a flexible wire runs through the fuzzy covering. A tight two-turn connection is usually enough to join a lightweight wing to the body. Wrapping the wing ends around the central body also distributes the connection over a larger area than a single bend.
If you enjoy construction techniques that rely on twisting rather than adhesives, our pipe cleaner flowers without glue guide shows the same principle in floral projects.
How to Shape Better Bat Wings
The wings are the most important part of this craft. Start with the upper edge because it establishes the overall width. Make the outer tip distinct, then return toward the body with two or three lower points. Avoid making many tiny zigzags; they can make the outline look messy instead of wing-like.
For matching wings, finish the first wing and temporarily place the unused stem directly over it. Copy the main bends before attaching the second side. After both wings are secured, you can change their angles to create movement.
These bending skills are also useful for hearts, stars, geometric outlines, and other projects in our pipe cleaner shapes tutorial.
5 Easy Pipe Cleaner Bat Variations
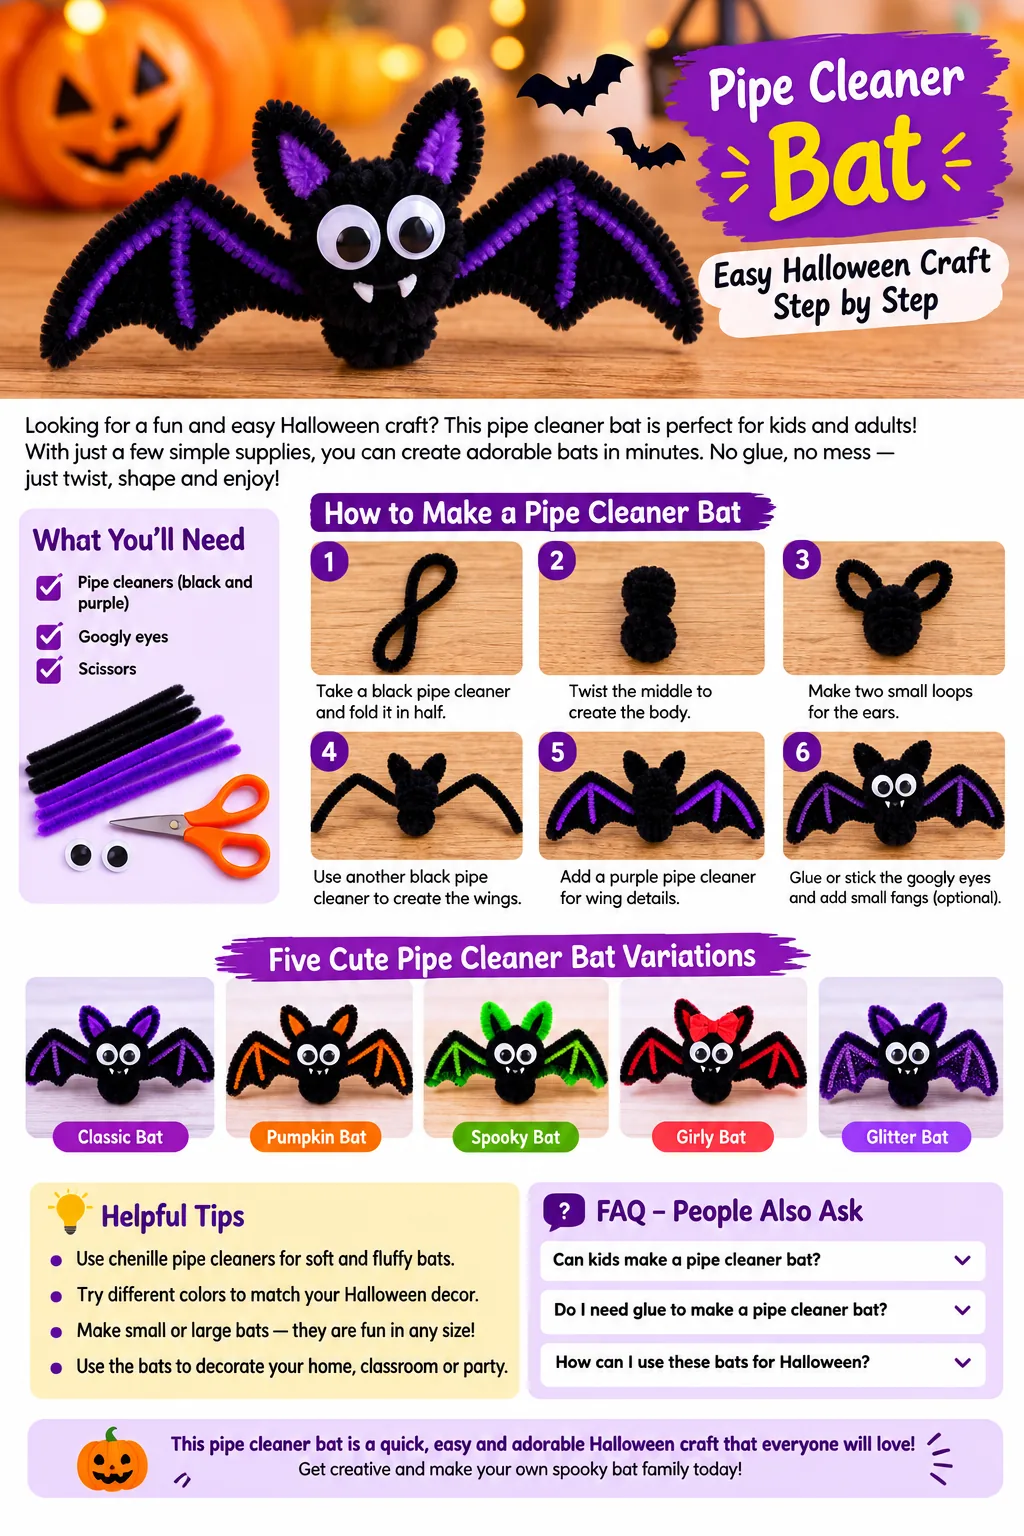
1. Classic Black Bat
Use black stems for the entire bat and keep the face minimal. This version creates the strongest silhouette and works especially well against orange, white, or pale backgrounds.
2. Purple Halloween Bat
Make the body black and the wings purple, or reverse the colors. A two-color design is useful when several bats will be displayed together because it creates variation without changing the construction.
3. Mini Hanging Bat
Use half-length stems for a smaller ornament. Keep the wing scallops simple because very small bends become difficult to distinguish. Tie lightweight thread around the central body for hanging.
4. Cute Bat With Rounded Wings
Instead of sharp lower points, create soft curves along the wing edges. Round the ears slightly and use a small smile. This produces a friendlier Halloween character for classroom or family craft displays.
5. Extra-Large Display Bat
Join two pipe cleaners end to end for each wing and use extra stems around the body. Reinforce every connection with several tight twists. A larger bat works best on a wall or wreath where its wings can remain spread out.
How to Make a Hanging Pipe Cleaner Bat
For a flying bat, tie a short piece of clear line or thread around the upper body between the wings. Lift the craft before knotting permanently and move the hanging point until the bat stays level.
For an upside-down bat, use the small hooks at the bottom of the body. Wrap them around a lightweight branch, garland, craft ring, or sturdy pipe cleaner support. Do not suspend the bat from only one loosely twisted wing.
Halloween Decorating Ideas
- Bat garland: hang several mini bats along black or orange ribbon.
- Halloween wreath: twist the feet around a lightweight wreath base.
- Wall display: arrange bats at different angles to suggest a flying group.
- Table decoration: place a small bat near pumpkins, flowers, or a handmade spider.
- Classroom display: combine bats with stars, moons, and simple geometric shapes.
- Halloween bouquet: attach one small bat to the edge of a floral arrangement rather than hiding it among the flowers.
For a larger seasonal display, combine the bat with our pipe cleaner Halloween crafts. That guide focuses on floral Halloween decorations, while this page focuses specifically on constructing the bat.
Pipe Cleaner Bat Craft for Kids
For younger crafters, prepare the central body before the activity and let children focus on bending the wings. Draw a simple bat-wing outline on paper that they can use as a shaping guide. This reduces frustration and makes it easier to compare both sides.
Adults should handle wire cutters and check every exposed end. Avoid loose beads for children who may put small objects in their mouths. For more beginner-friendly chenille-stem activities, see our easy pipe cleaner flowers for kids.
Common Problems and Easy Fixes
The wings keep moving
Add another tight turn where each wing joins the body. Hold the body while twisting so you do not distort the head or ears.
One wing is larger
Do not immediately cut the larger wing. Open its bends and make the lower scallops slightly deeper. This shortens its visible span while keeping the stem intact.
The bat does not look recognizable
Emphasize three details: pointed ears, wide wings, and a scalloped lower wing edge. Simplifying the face often makes the overall bat silhouette clearer.
The body is too thin
Wrap another black pipe cleaner around the central section from the shoulders downward. Keep the wrap compact so the wings can still move independently.
The wire ends feel sharp
Fold each end back onto itself and press it into the fuzzy covering. Replace damaged stems with exposed wire, especially for crafts handled by children.
More Halloween Pipe Cleaner Crafts
A bat works particularly well as part of a small Halloween craft collection. Make a fuzzy pipe cleaner spider, add a friendly pipe cleaner ghost, then use our broader pipe cleaner art ideas for additional shapes and decorations. Keeping each tutorial focused on one main project makes it easier to learn the construction and combine the finished pieces later.
Frequently Asked Questions
How do you make a bat out of pipe cleaners?
Twist one black pipe cleaner into a compact body, shape two additional stems into pointed scalloped wings, and twist each wing securely around the upper body. Add small ears and optional feet or facial details.
How many pipe cleaners do you need to make a bat?
A simple bat can be made with about three full-length pipe cleaners: one for the body and one for each wing. Extra stems can be used for a thicker body or larger design.
Can you make a pipe cleaner bat without glue?
Yes. The basic bat can be assembled with tight twists and bends, so glue is not required for the main structure.
How do you shape pipe cleaner bat wings?
Create a long upper edge, a pointed outer tip, and two or three shallow points or curves along the lower edge before bringing the stem back toward the body.
How do you hang a pipe cleaner bat?
Tie lightweight thread around the central body between the wings for a flying pose, or use small hooked feet to hang the bat upside down from a suitable support.
Is a pipe cleaner bat craft suitable for kids?
It can be a beginner-friendly supervised craft. Adults should handle cutting tools, fold exposed wire ends inward, and avoid small loose decorations for young children.
What colors work for pipe cleaner bats?
Black is the classic choice, but purple, orange, gray, or mixed-color wings can create playful Halloween variations.
What can I do with finished pipe cleaner bats?
Use them for Halloween garlands, wreaths, classroom displays, wall decorations, table arrangements, or hanging ornaments.
Final Thoughts
Start with three black pipe cleaners and focus on the silhouette: a compact body, two short ears, and two broad pointed wings with scalloped lower edges. Once the basic bat holds its shape, experiment with colors, hanging positions, and larger display versions. The same simple bending and twisting skills can be reused across many Halloween pipe cleaner projects.
1 thought on “How to Make a Pipe Cleaner Bat – Easy Halloween Craft Step by Step”