
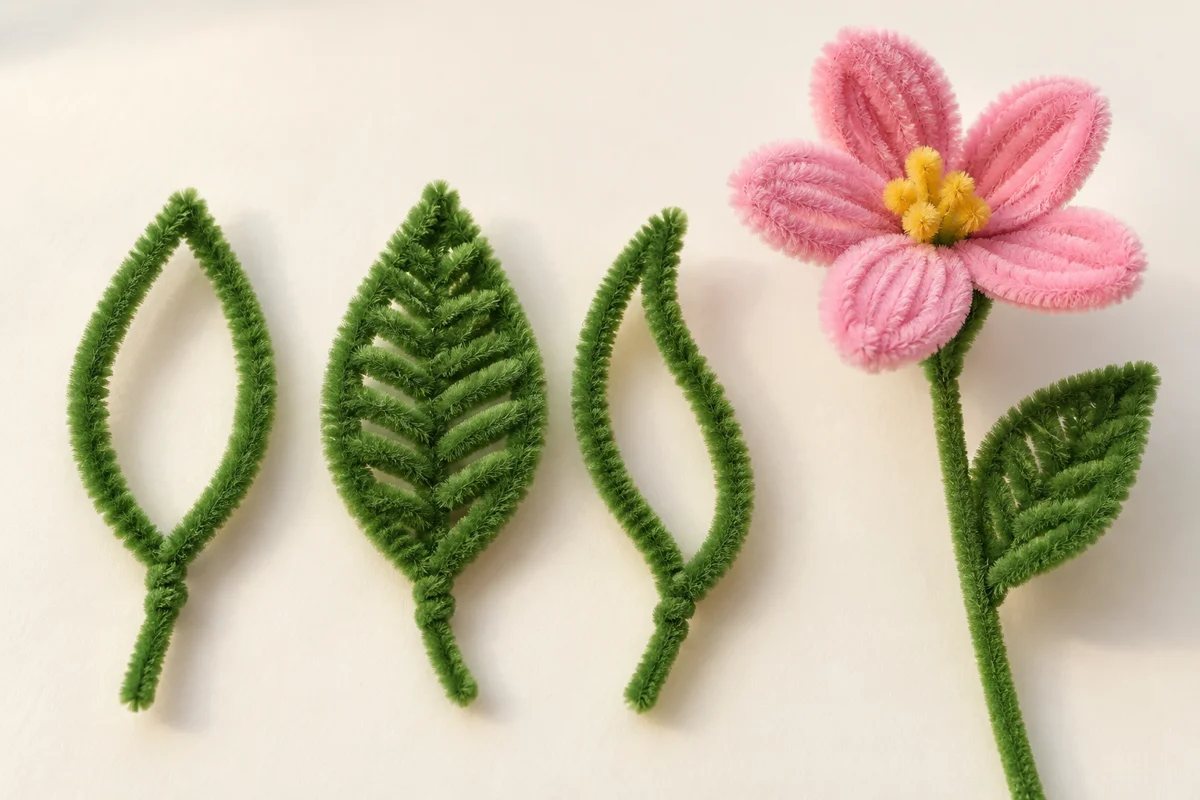
To make a pipe cleaner leaf without glue, fold a green chenille stem into a loop, twist the base, shape a pointed tip and wrap the remaining tail around a flower stem. Use one pipe cleaner for an open outline or add a second to fill the center with loose zigzag crossings.
This beginner tutorial covers two leaf styles, attachment tips and color variations for handmade floral arrangements. The photographs are illustrative design examples; adapt the size and wrapping to your own chenille stems.
For matching flower heads, explore these pipe cleaner flowers without glue.
Materials for One Pipe Cleaner Leaf
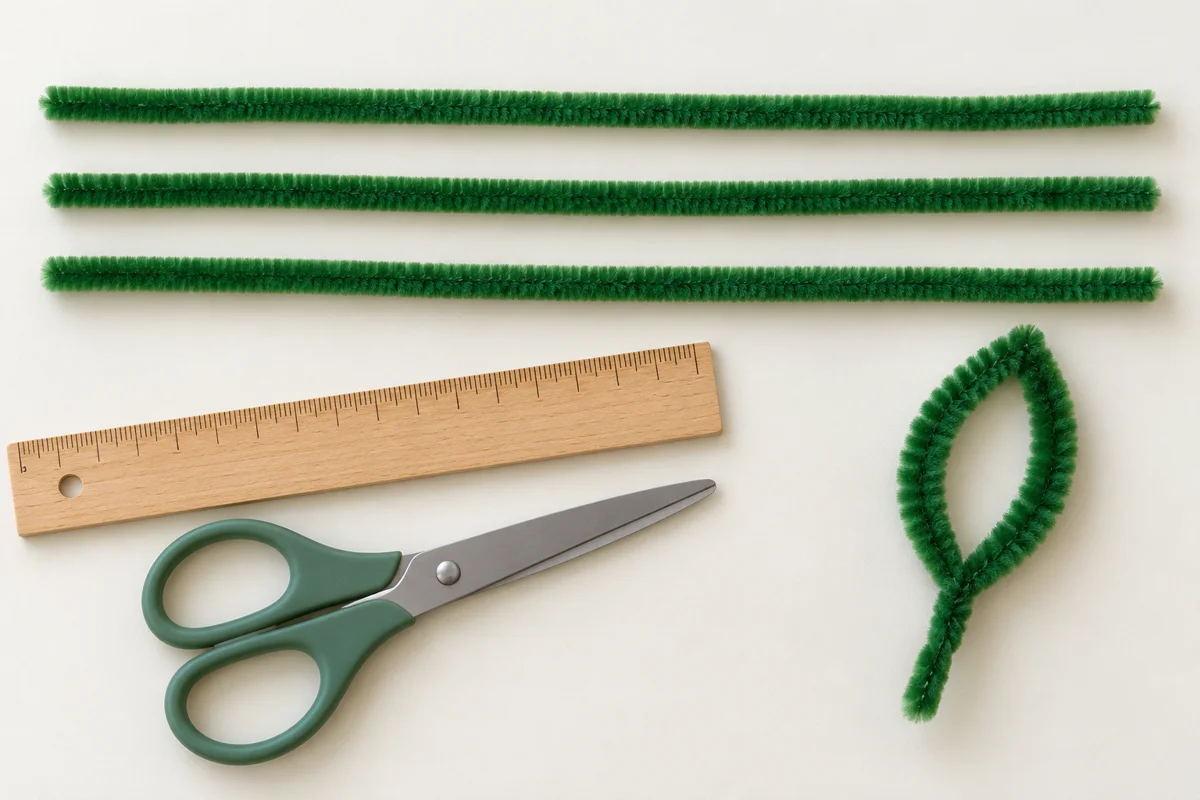
- One green pipe cleaner, about 12 inches long
- One additional green pipe cleaner for a filled leaf, optional
- A flower stem or another pipe cleaner to attach the leaf to
- A ruler, optional
- Scissors or suitable craft wire cutters, only if you need to trim an end
Standard fuzzy chenille stems work well. Start with a full-length stem so you have enough material to form the outline and leave a short attachment tail. If children join in, an adult should handle cutting and tuck away any exposed wire ends.
How to Make a Pipe Cleaner Leaf Step by Step
1. Fold the pipe cleaner off-center
Fold your green pipe cleaner so one side is about 2 inches longer than the other. The folded end will become the leaf tip, and the extra length will become the attachment tail. Keep the two sides beside each other while you locate the base of the leaf.
2. Twist the leaf base
Bring the shorter end against the longer side. Twist them together two or three times near the shorter end. You should now have a closed loop above the twist and a single longer tail below it. Fold the short wire tip inward against the twist so it does not stick out.
3. Open the loop into a leaf shape
Gently pull the two sides of the loop apart. Pinch the folded end to make a pointed tip, then curve each side outward. Aim for a narrow oval with a pointed top. You can make the widest part closer to the base for a broader leaf, or keep both sides narrow for a long leaf.
4. Adjust the outline
Lay the leaf on a flat surface and check both sides. Smooth any sharp bends with your fingers. Leave the base narrow so the leaf looks separate from its attachment tail. Do not pull so hard that the base twist opens.
5. Attach the leaf to a stem
Place the leaf base against your flower stem. Wrap the remaining tail around the stem two or three times, then tuck the end against the wrapped section. Angle the leaf slightly outward. If it slides, tighten the wrap gently or place it just above an existing twist in the flower stem.
How to Make a Filled Pipe Cleaner Leaf
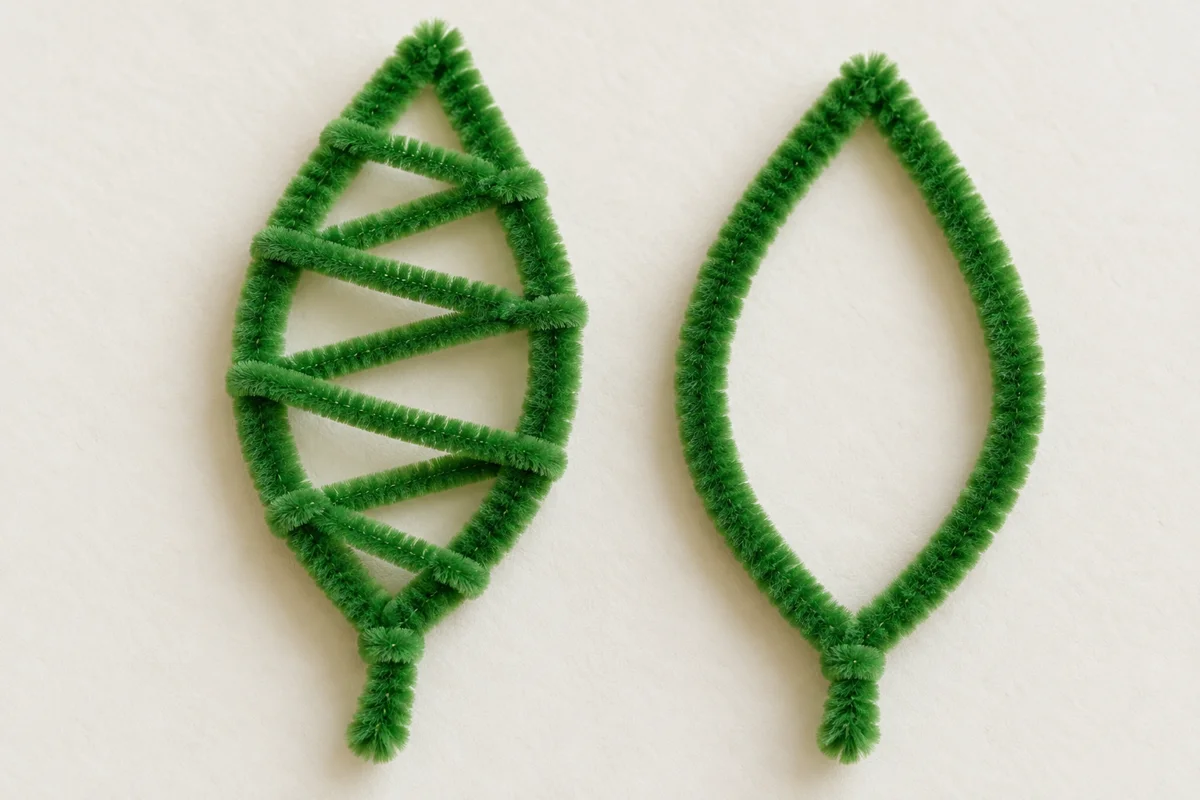
For a fuller appearance, make the outline first, then use a second green pipe cleaner to create a loose zigzag inside it.
- Secure one end of the second pipe cleaner around the outline near the base.
- Carry it diagonally across the empty center to the opposite edge.
- Wrap it once around that edge, then carry it back across to the first side a little higher up.
- Continue alternating sides toward the tip. Keep the crossings relaxed so they do not pull the outline inward.
- Wrap the remaining end around the outline and tuck the tip inward. Trim only if necessary.
The number of crossings depends on the size of your outline. A large leaf may need another pipe cleaner to fill all the gaps. For your first attempt, leave small spaces between crossings instead of trying to make a completely solid surface.
Pipe Cleaner Leaf Shapes and Color Ideas
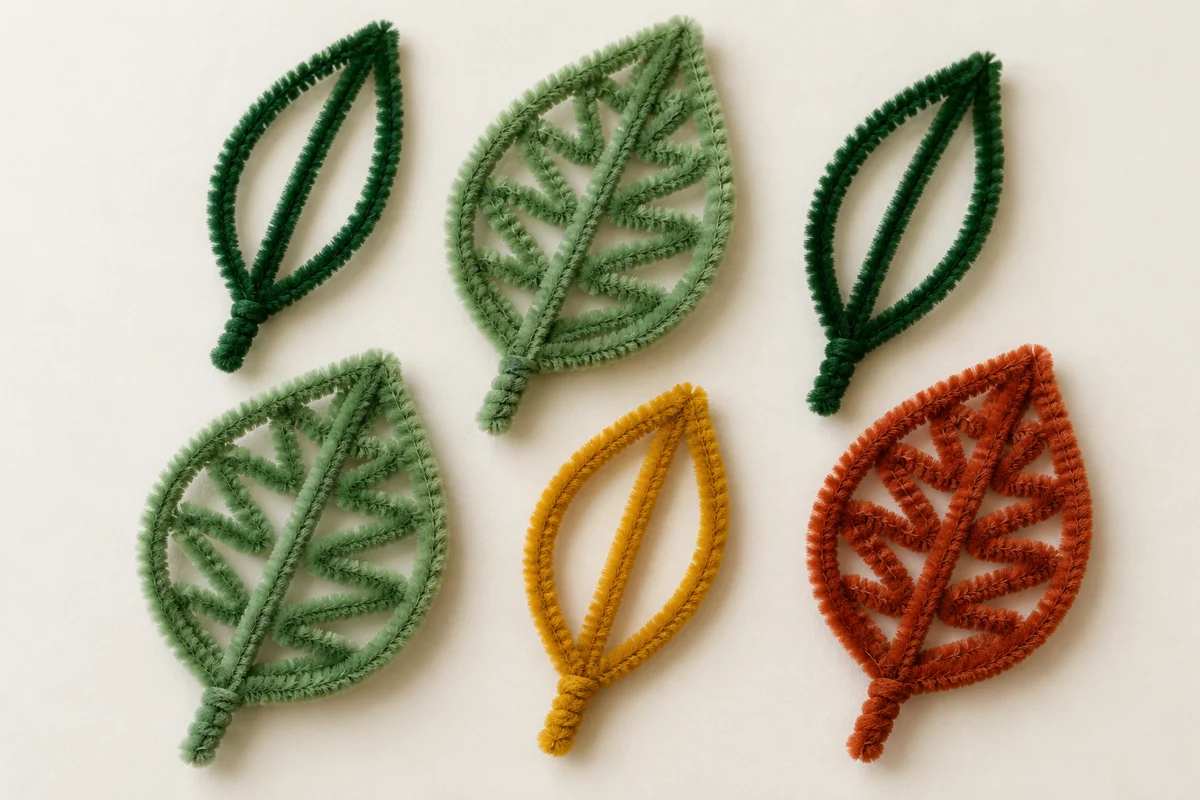
The examples also show optional center veins. To add one, secure an extra chenille stem at the base, run it through the middle to the tip and wrap its end around the outline. Leave enough length for the wraps; do not stretch it tightly.
A narrow leaf for delicate flowers
Keep the outline slim and give it a gentle curve. Use one or two leaves on a thin flower stem so the foliage does not overwhelm the flower head. Pair this shape with a handmade pipe cleaner tulip.
A broad leaf for larger flowers
Open the sides farther apart and keep a pointed tip. The filled version suits this shape because the wider center gives you room for the zigzag wrapping. Add it below a pipe cleaner rose for fuller foliage.
A curved leaf for a handmade branch
Make the basic outline, then bend the finished leaf gently along its length. Attach several leaves at different heights on a separate stem. Turn them in slightly different directions to give the branch depth.
Common Problems and Simple Fixes
- The leaf turns on the stem: tighten the attachment tail and tuck its end firmly against the stem.
- The outline collapses while filling: loosen the zigzag crossings and reshape the outer loop.
- The tip looks rounded: pinch the folded end gently between your fingers to create a clearer point.
- A wire end catches on fabric: fold it inward and check the leaf before adding it to a display.
Ways to Use Your Finished Leaves
Add a leaf below a handmade flower head, attach several to a small decorative branch, or use different shades of green in a tabletop arrangement. For a tidy bouquet, keep the leaves above the part of the stems that will sit inside the vase. Find combinations for your finished stems in these pipe cleaner flower bouquet ideas.
Store finished leaves in a shallow box without heavy objects on top. If one becomes flattened, reshape it gently with your fingers. Avoid soaking the leaves; dust them with a soft, dry brush when needed.
Frequently Asked Questions
Can I make a pipe cleaner leaf without glue?
Yes. The base twist holds the outline together, and the attachment tail wraps around the flower stem. The filled version also stays in place with small wraps around the outline.
How many pipe cleaners do I need for one leaf?
Use one for an open outline and usually two for a small filled leaf. Larger filled leaves may need additional material.
Can I use colors other than green?
Yes. Try yellow, rust, or brown for an autumn arrangement, or use a color that matches your decorative flowers.
Is this craft suitable for children?
Children who can fold and twist chenille stems can try the outline version with adult supervision. Adults should handle cutting and check for exposed wire ends.