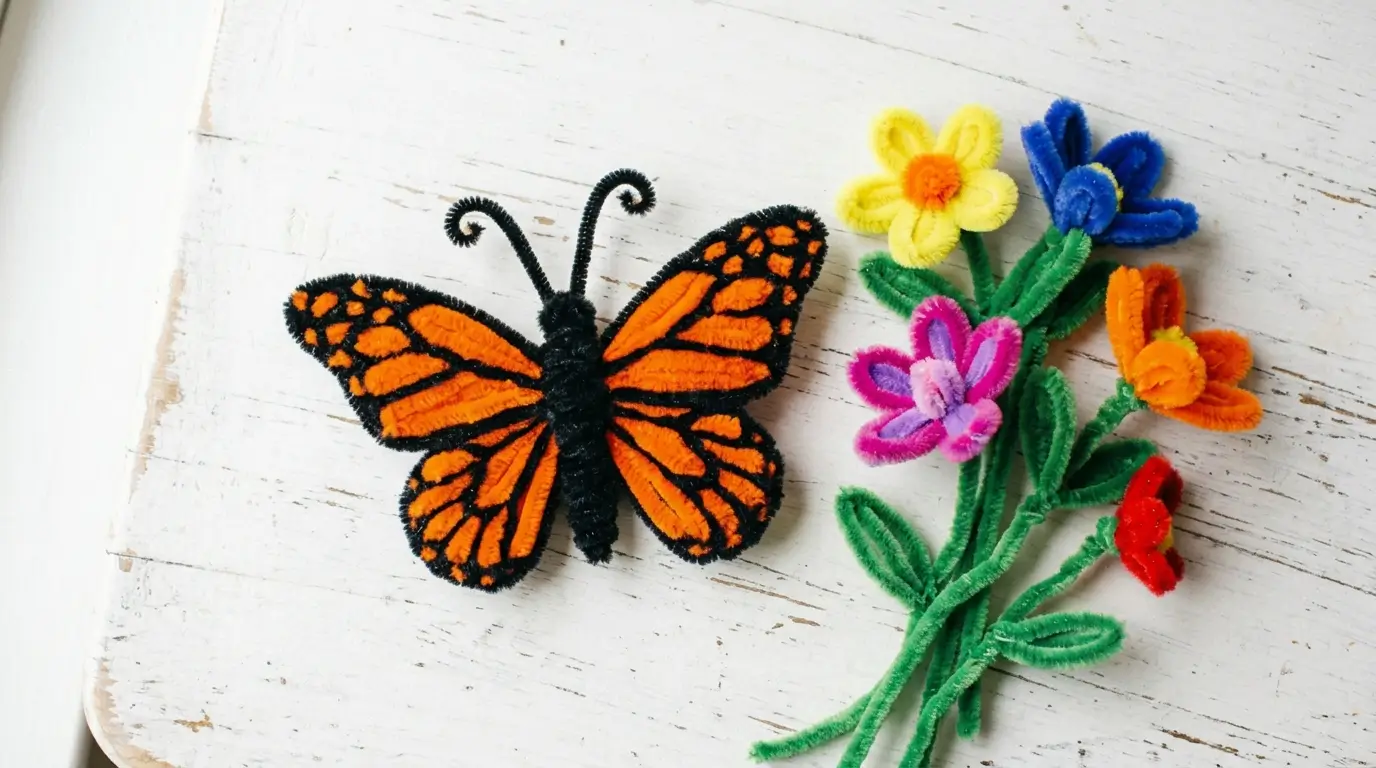
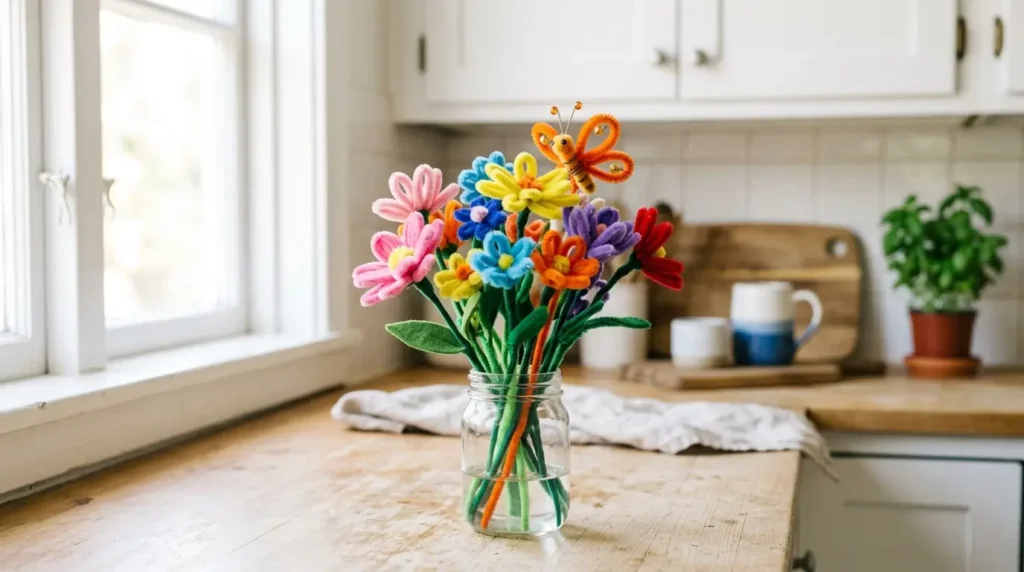
Making a pipe cleaner butterfly takes less than 5 minutes, uses just 2 pipe cleaners, and looks stunning on its own or added to a bouquet, a flower crown, or a wall hanging.
No glue. No scissors. No special tools.
This guide covers everything: how to make a basic pipe cleaner butterfly step by step, 10 design variations sorted by style and occasion, and exactly how to display or attach your butterfly to other crafts.
💡 New to pipe cleaner crafts? Start with our simple pipe cleaner flower ideas first — butterflies pair beautifully with every flower on that list.
What You Need
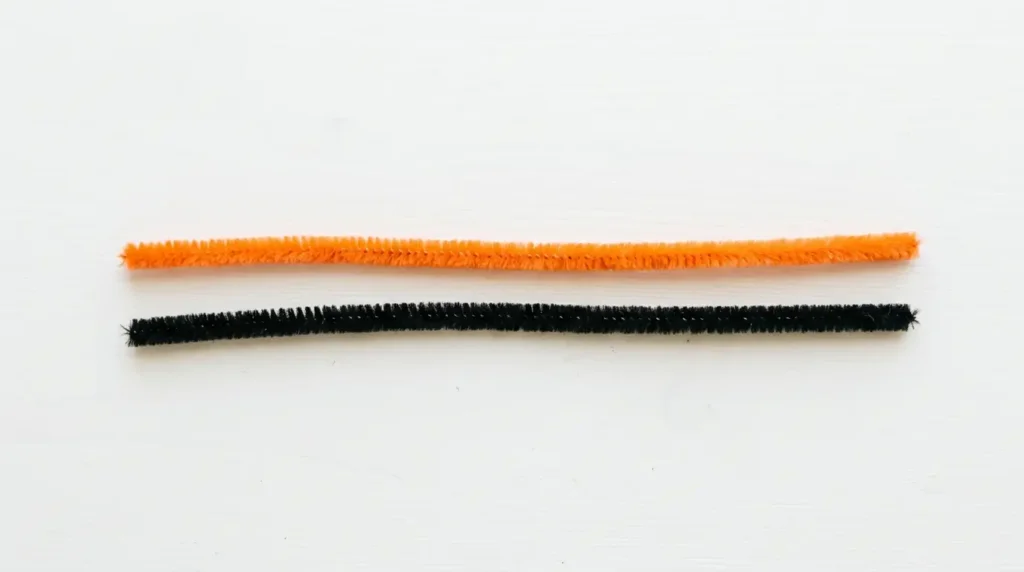
- 1 colored pipe cleaner (wings) — any color works
- 1 black or dark pipe cleaner (body and antennae)
- Optional: a second colored pipe cleaner for double-layer wings
Total cost: under $0.50 · Time: 3–5 minutes · Age: 5+
How to Make a Pipe Cleaner Butterfly – Step by Step
Step 1 — Make the wings
Take your colored pipe cleaner and fold it in half to find the center point. Do not crease it yet.
Starting from the center, form two large loops on each side — one upper wing and one lower wing per side. The upper wing should be slightly larger than the lower wing, just like a real butterfly.
To form each wing: fold the pipe cleaner into a rounded teardrop shape, then twist the base once to hold the shape. Repeat for all four wings.
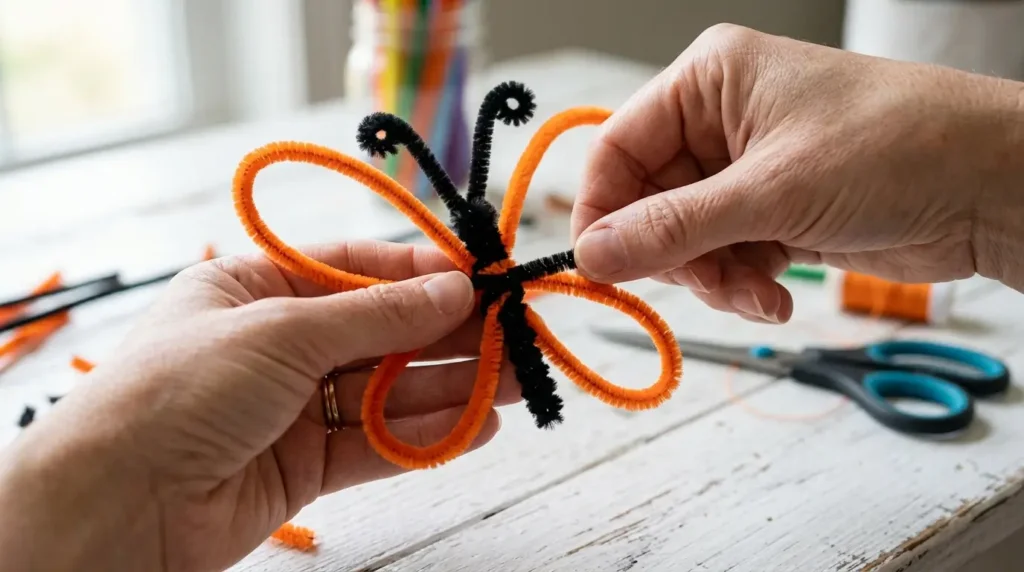
Step 2 — Pinch the center
Hold all four wing bases together at the center and pinch tightly. Twist once to lock everything in place. This creates the connection point where the body will attach.
Step 3 — Make the body
Take your black pipe cleaner. Fold it in half. Wrap the folded center tightly around the pinched wing connection point — 3 full rotations. Pull firmly so the body grips the wings securely without glue.
Step 4 — Shape the body
After wrapping, let the two black pipe cleaner ends point downward — these form the lower body. Twist them gently together for 2–3 cm to create a tapered abdomen shape. Leave the last 1 cm slightly apart.
Step 5 — Add the antennae
Take the two remaining ends of the black pipe cleaner at the top of the body and curve them outward and upward into gentle arcs. Curl the very tip of each antenna into a tiny circle by wrapping it once around a pencil tip.
Your butterfly is complete.
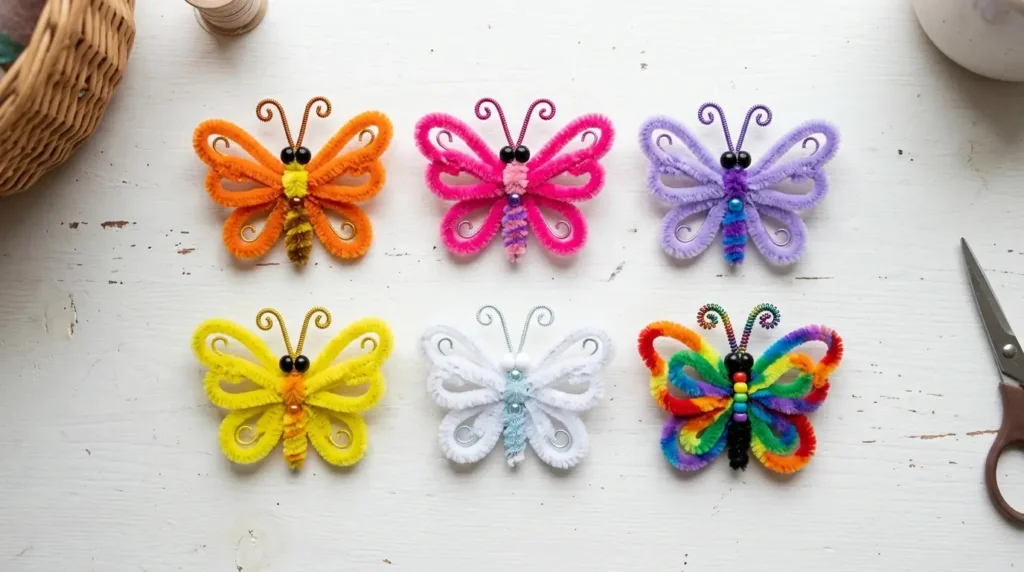
10 Pipe Cleaner Butterfly Design Ideas
🦋 Idea 1 — Classic Monarch
Orange wings with black body and antennae. The most recognizable butterfly design. Add small black dots along the wing edges by twisting tiny black pipe cleaner pieces into the orange loops.
Best for: nature-themed decorations, kids’ rooms, school projects
🌸 Idea 2 — Pink Garden Butterfly
Pale pink upper wings, hot pink lower wings, black body. Pair with white daisies or pink roses for a spring bouquet. Full flower tutorials in our pipe cleaner daisy flower guide and pipe cleaner rose guide.
Best for: Mother’s Day gifts, birthday bouquets, bedroom decor
💜 Idea 3 — Lavender Butterfly
Two shades of purple — light lavender upper wings, deep purple lower wings. Combines beautifully with lavender sprigs in a bouquet or wall hanging. See our lavender pipe cleaner flowers guide for the matching flower.
Best for: boho decor, flower crowns, wedding decorations
🌻 Idea 4 — Sunflower Butterfly
Yellow wings with a brown body — mimics the coloring of a swallowtail butterfly. Add to a sunflower bouquet for a stunning summer arrangement. Full sunflower tutorial in our pipe cleaner sunflower guide.
Best for: summer decor, outdoor party decorations, kitchen display
🎄 Idea 5 — Christmas Butterfly
Red and white wings with a green body. Unconventional but striking as a Christmas tree ornament or wreath addition. More Christmas ideas in our pipe cleaner flowers Christmas guide.
Best for: Christmas ornaments, holiday wreaths, gift decorations
🌈 Idea 6 — Rainbow Butterfly
Each wing a different color — four colors across the four wings. No body color preference. The most cheerful design for children’s crafts. One pipe cleaner per wing color, four short pieces in total.
Best for: children’s rooms, classroom projects, craft parties
⚪ Idea 7 — White Wedding Butterfly
All-white wings with a silver or white body. Add to a white pipe cleaner flower bouquet for an elegant wedding decoration. Full wedding ideas in our pipe cleaner wedding flowers guide.
Best for: wedding table decor, bridal shower crafts, anniversary gifts
🍂 Idea 8 — Autumn Butterfly
Orange, rust and brown wings — three tones across the four wings. Pair with sunflowers and lavender for an autumn harvest arrangement.
Best for: fall home decor, Thanksgiving crafts, October classroom projects
🖤 Idea 9 — Midnight Butterfly
Black wings with a gold or silver body. Dramatic and modern. Works beautifully pinned to a dark wall or placed in a black vase with white flowers.
Best for: Halloween decor, modern interior styling, teen bedroom crafts
💗 Idea 10 — Ombre Butterfly
Start with the lightest shade on the outer wing tips and work toward a deeper shade at the wing center. Requires two pipe cleaners of different shades (e.g. pale pink and hot pink) cut and combined.
Best for: advanced crafters, display pieces, gift wrapping decoration
How to Attach a Butterfly to Other Crafts
To a bouquet: Wrap the butterfly body around one of the flower stems with 2–3 rotations. Position it at mid-height among the flowers so the wings are visible above the blooms. Full bouquet guide in our pipe cleaner flower bouquet ideas guide.
To a flower crown: Twist the butterfly body directly onto the crown base ring using the same clock-face method as the flowers. See our pipe cleaner flower crown guide for the full crown tutorial.
To a wall hanging: Hook the butterfly body over one of the hanging strings and twist once to secure. Position between two flowers for the most natural look. Full tutorial in our pipe cleaner wall hanging guide.
As a standalone decoration: Bend the lower body ends into a small hook shape and hang from a thin nail, a branch, or a string. Or press the body flat and pin to a corkboard or soft wall.
Pro Tips for a Butterfly That Looks Realistic
Uneven wings on purpose — real butterflies are not perfectly symmetrical. Don’t obsess over making all four wings identical. Slight size variation between upper and lower wings always looks more natural.
Curl the antennae outward, not inward — antennae that curve outward give the butterfly a living, alert posture. Antennae curled inward look droopy.
Vary wing fullness — gently puff each wing loop slightly outward with your fingertip after shaping. Flat loops look two-dimensional; puffed loops look three-dimensional.
Use two pipe cleaners for the wings for a richer look — wrap a second matching or contrasting pipe cleaner over the first wing shape to create double-layer wings with more depth and body.
Add a small dot of contrasting color — twist one tiny contrasting piece into the upper wing to mimic the eyespot marking found on many real butterfly species. This single detail dramatically increases realism.
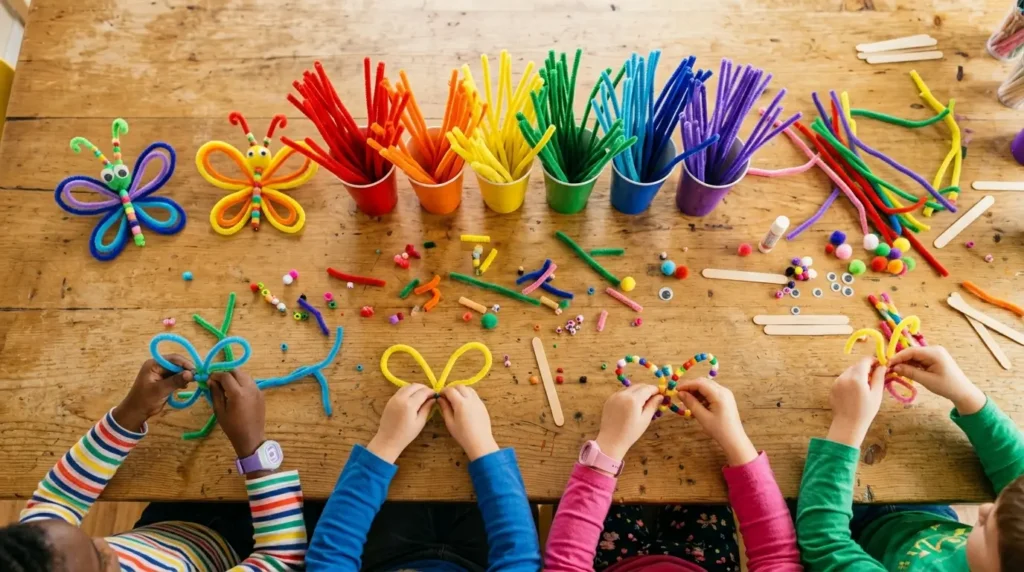
Butterflies as a Classroom Craft
A pipe cleaner butterfly is one of the fastest group crafts available — each student can complete one in under 5 minutes, making it ideal for short craft sessions or as a filler activity.
Ages 5–7: Pre-shape the wings and let children attach the body and curl the antennae.
Ages 8–10: Full independent construction following the steps above.
Ages 11+: Challenge them to design their own species — custom wing shape, color combination, and body length.
For a complete classroom butterfly garden project, make 20–30 butterflies and attach them to a large branch or a length of string across the classroom wall. Add pipe cleaner flowers from our pipe cleaner flowers classroom decoration guide.
Frequently Asked Questions
Final Thoughts
A pipe cleaner butterfly takes 5 minutes and two pipe cleaners. It transforms any bouquet, flower crown or wall hanging from beautiful to extraordinary.
Start with Idea 1 (the classic Monarch) if you’re not sure where to begin. Once you’ve made one, you’ll add them to everything.
Happy crafting — from My Flower Decor! 🦋
Save to Pinterest and share the butterfly love! 📌
More guides you’ll love:
- Free pipe cleaner flowers printable instructions PDF — download and print all 10 flower tutorials for free
- Pipe cleaner flower bouquet ideas
- Pipe cleaner flower crown
- Pipe cleaner wall hanging
- Types of pipe cleaner flowers
- Easy pipe cleaner flowers for kids